2. 由於我們需取得目前手機的電話簿,因此必需在AndroidManifest.xml內新增一個讀取電話簿的權限。
3. MainActivity.java
package org.me.android_phonebook;
import android.app.Activity;
import android.content.ContentResolver;
import android.database.Cursor;
import android.os.Bundle;
import android.provider.Contacts;
import android.widget.ArrayAdapter;
import android.widget.AutoCompleteTextView;

public class MainActivity extends Activity {
    private AutoCompleteTextView autoComplete;

    @Override
    public void onCreate(Bundle icicle) {
        super.onCreate(icicle);
        setContentView(R.layout.main);
        autoComplete = (AutoCompleteTextView) findViewById(R.id.autoComplete);
        //設定自動填入的文字內容
        ArrayAdapter adapter = new ArrayAdapter(this,android.R.layout.simple_spinner_item,getContactsName());
        autoComplete.setAdapter(adapter);
    }

    //取得所有聯絡人姓名
    public String[] getContactsName() {
        //取得內容解析器
        ContentResolver contentResolver = this.getContentResolver();
        //設定你要從電話簿取出的欄位
        String[] projection = new String[]{Contacts.People.NAME,Contacts.People.NUMBER};
        //取得所有聯絡人
        Cursor cursor = contentResolver.query(Contacts.People.CONTENT_URI, projection, null, null, Contacts.People.DEFAULT_SORT_ORDER);
        String[] contactsName = new String[cursor.getCount()];
        for (int i = 0; i < cursor.getCount(); i++) {
            //移到指定位置
            cursor.moveToPosition(i);
            //取得第一個欄位
            contactsName[i] = cursor.getString(0);
        }
        return contactsName;
    }
}
4. AndroidManifest.xml <?xml version="1.0" encoding="UTF-8"?>
<manifest xmlns:android="http://schemas.android.com/apk/res/android"
package="org.me.android_phonebook">
<application>
<activity android:name=".MainActivity" android:label="PhoneBook">
<intent-filter>
<action android:name="android.intent.action.MAIN"/>
<category android:name="android.intent.category.LAUNCHER"/>
</intent-filter>
</activity>
</application>
<uses-permission android:name="android.permission.READ_CONTACTS"></uses-permission>
</manifest>
5. main.xml(Layout) <?xml version="1.0" encoding="UTF-8"?>
<LinearLayout xmlns:android="http://schemas.android.com/apk/res/android"
android:orientation="vertical"
android:layout_width="fill_parent"
android:layout_height="fill_parent">"
<AutoCompleteTextView
android:id="@+id/autoComplete"
android:layout_width="fill_parent"
android:layout_height="50px">
</AutoCompleteTextView>
</LinearLayout>
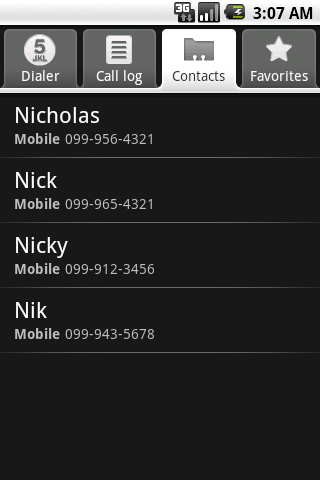
6. 執行之後的畫面。